Did you know the dread of freezer burn could be costing you a pretty penny, upwards of $500 a year? But worry not, as an experienced barista and food preserver, I’ll guide you through the art of vacuum sealing techniques that are crucial for food preservation. By employing these five research-backed strategies through testing and expertise, you can maintain food quality and curb the risk of freezer damage. Mastering vacuum sealing involves wise equipment choices and proper technique—from selecting medical-grade materials to keeping a watch on temperature settings. Studies reveal proper vacuum sealing can extend your frozen delights’ shelf life up to a staggering five times than usual storage methods. Home chefs, get ready to amp up your food saving game by embracing these professional-grade preservation skills, ensuring your meals maintain their mouth-watering flavor and rich nutrients.
Why Vacuum Sealing Is Your Freezer's Best Friend
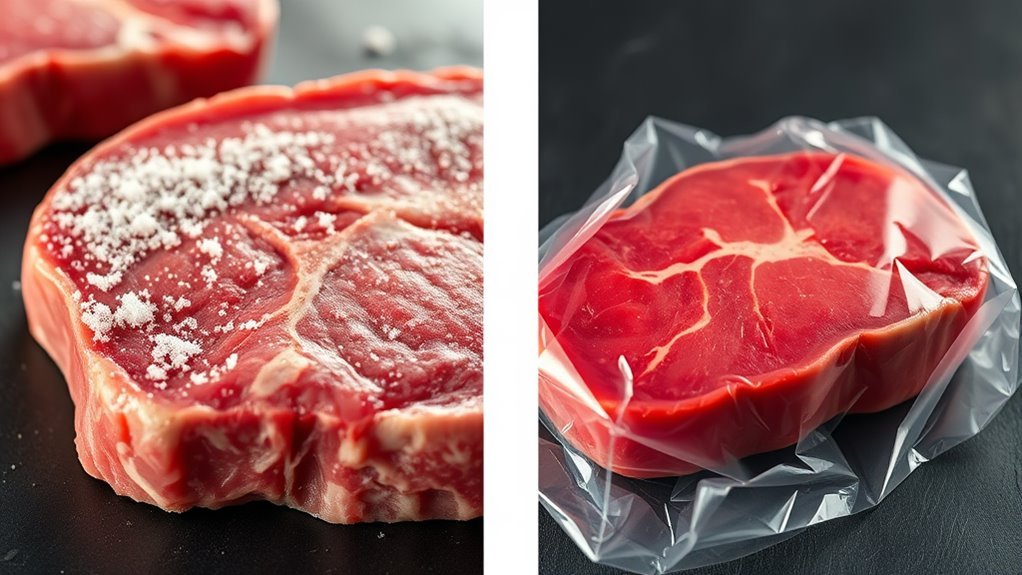
When it comes to battling freezer burn and keeping your meals minty fresh in the icy depths, vacuum sealing is the champion I endorse. Here’s the scoop on its superpower: sealing out the air equates to an airtight haven that dramatically cuts down moisture migration; this means no more uninvited ice crystals at your food party!
My behind-the-counter secret? Limiting air exposure is key; after all, your freezer's chilly draft is freezer burn's best ally. Vacuum sealing hugs your food so tight, it shields against sublimation—the ice-to-vapor magic trick you don’t want. Trust the barista: vacuum sealing can quintuple your food’s vitality, safeguarding its gusto and goodness. Because, as you'll read on how freezer burn sets in, escaping moisture spells doom for texture and taste.
Must-Have Tools for Vacuum Sealing Success
Feeling jittery about starting the vacuum sealing venture? Let me spill the beans on the essential gear you need to embark on this quest.
First off, snag a dependable vacuum sealer; it’s your shield against the nemesis of nosh—freezer burn. Discover that quality vacuum sealing bags are non-negotiable; they’re engineered to be tough cookies, locking out air and locking in freshness. Don’t overlook nifty allies like FoodSaver canisters and jar sealers, perfect for safeguarding your dried cherries to chia seeds with flair. Also, tick 'opt for top-grade bags' off your checklist to ensure you’re nailing the preservation game.
Regularly cleaning my sealer’s strips is a ritual for me—it’s the cornerstone of food safety and machine mojo. Custom-sized bag making? Breeze through it with a built-in cutter for that tailor-fit storage, guaranteeing longevity for your grub.
Your How-To for Flawless Vacuum Sealing
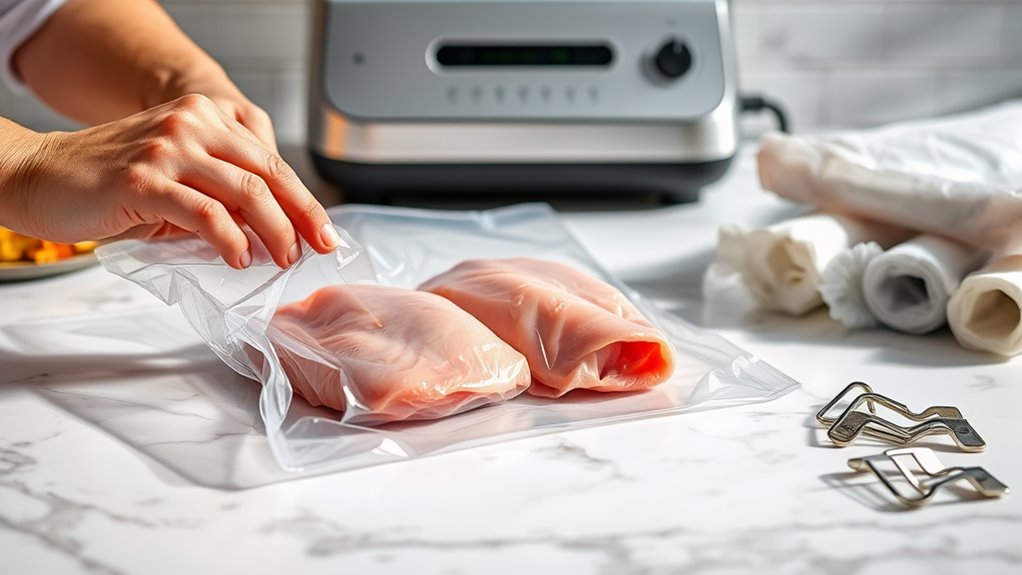
Ready to get sealing? Sharpen your vacuum-sealing skills and say adieu to frostbitten fare! Follow me as we navigate from picking the prime vacuum bags and prepping your bites to sealing them solid. It's all about dodging air exposure to protect that scrumptiousness and texture.
| Step | Action | Time |
|---|---|---|
| Prep | Remove moisture, partition your feast | 5 min |
| Pack | Lay food in bag, allow breathing space | 2 min |
| Seal | Fire up vac, assess seal integrity | 3 min |
Don't forget to leave about 3 inches of headroom in each bag. Extracting maximum air promises you a fresher tomorrow. Do yourself a favor and label your stash with dates—you'll send thanks through time!
Storing Your Sealed Fare: The Golden Rules
Let's lock in some storage smarts for your vacuum-sealed treasures.
Always nestle your parcels in your freezer's chilliest nook to keep things on the frosty side of life—a surefire way to combat freezer burn.
As for labeling, it's my go-to ritual; scribble down the date and what's inside for a well-organized icy archive.
Stash your goodies in the tiniest vacuum bags that fit, and give your freezer space to breathe for even air flow around each package.
Keeping my freezer at a frosty 0°F is my obsession because it's critical, so I double-check the temp often. Seal it right, and steer clear of freezer burn, promising yourself only the freshest of feasts.
Adopting these straightforward habits has wholly upgraded the way I manage my vacuum-sealed goodies.
Seal the Deal: Vacuum Sealing for Ultimate Freshness

Vacuum sealing techniques, when executed right, are your ally in keeping your pantry perpetually pristine and dashes of deliciousness intact. Crafting that all-important air-tight shield is the name of the game to fend off freezer burn and cling to freshness. Here’s my palette of top techniques!
When it's time to seal, I snugly tuck the bags around each morsel, shooing away any air squatters threatening moisture’s sanctuary.
For those precious perishables, I go the extra mile with a plastic wrap prelude—it's truly worth the extra effort!
Using a vacuum sealer with nifty dials means I can dial-in the ideal seal, no matter the victuals, which simply spells out better defense against the spoilage specter.
Remember, a spick-and-span sealer is your golden ticket for a seal so perfect, it’ll make the food last until the next barista competition.
Steaming Towards the Finish Line
I’m on a mission—to shield your provender perfectly! And I tell you, vacuum sealing is the ultimate method against that villainous freezer burn. By sticking to these savvy tips and steadfast storage techniques, your food’s freshness will be sealed, delivered. You’ll vouch for the importance of top-tier equipment, exacting technique, and unvarying routines. Stir these hints into your kitchen routine, and the cost savings will be as rich as your morning espresso shot.
The blog post 5 Best Ways to Prevent Freezer Burn With Vacuum is a treasure trove of insights. Swing by Vacuum Sealer Center for more barista-approved wisdom on keeping your eats exquisite.
```
No comments:
Post a Comment